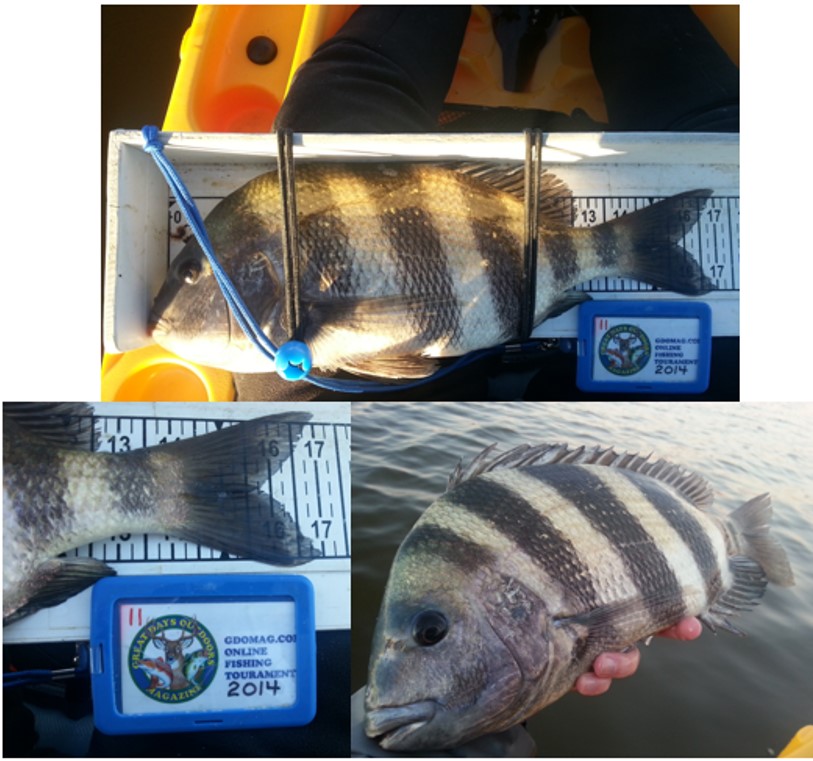
 Having a good measuring device on board the kayak is important to me. There a few features that are great to keep in mind when making your own. A white background for easy viewing of fish in pictures is key. If you are going to participate in online tournaments, having black measurement dimensions against a white background makes it easier for you as an angler to take a photo that will be accepted by the tournament staff. Select a floatable material, because you will drop it overboard. Selecting a widely recognized measuring tape to assemble is paramount if you plan on using it for tournaments too. Lastly, identification tokens that are given to the angler for tournaments are lost all the time. Purchase a lanyard and insert the ID token. This will guarantee the token is always on your board and because the board floats, you need not worry about it sinking to the bottom if you drop it. Additionally, it will decrease the time the fish is out of water because you won’t need to look for the token when a fish is landed.
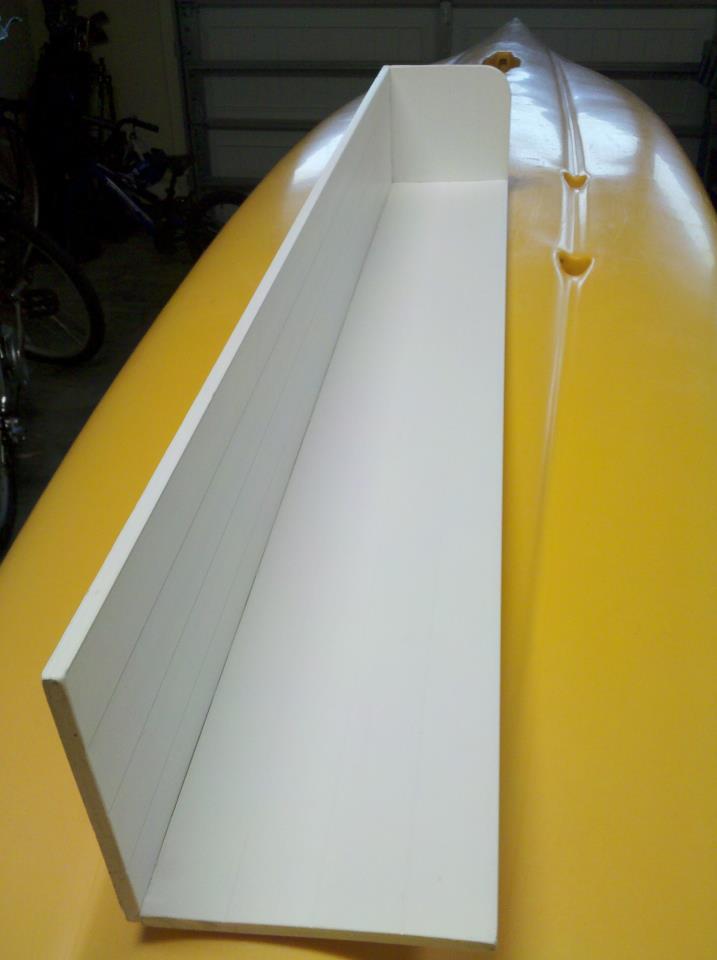
Below, you can build your own measuring board with step by step instructions. Also included is a way to make efficient use of space in your kayak by a method of hanging it on a milk crate behind your seat.
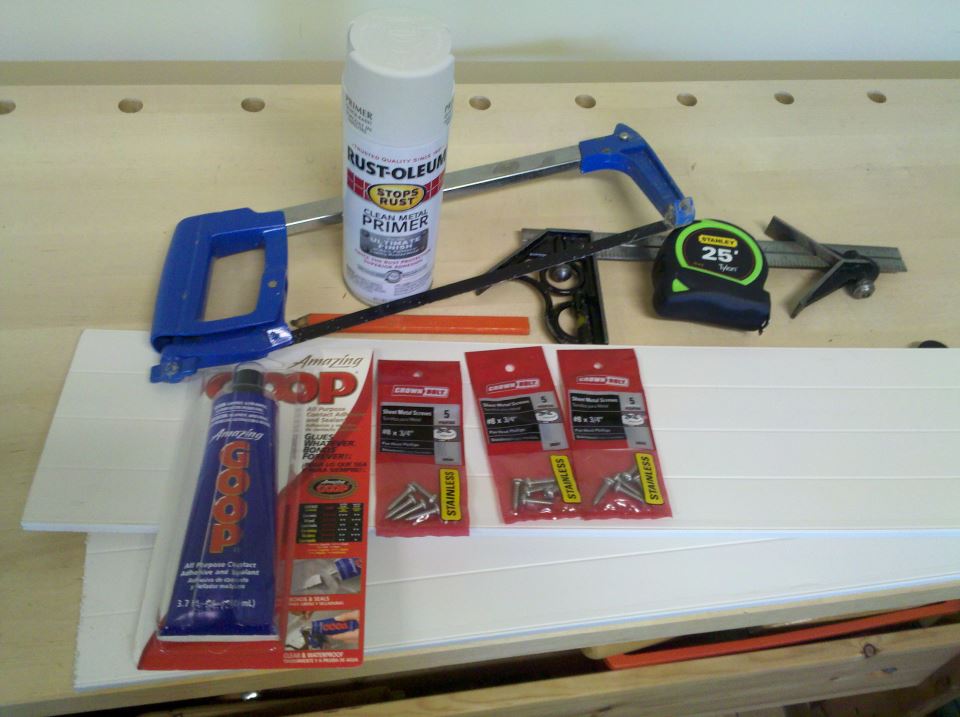 Supplies: Approximate cost at time of blog entry, not including tools is $29.50
Metal white primer
Goop – Clear, waterproof
Fourteen #8 x 3/4 stainless self piercing screws…
Tape measure
180 grit sandpaper
Right angle for scribing
Pencil
One piece of 8′ x 5 7/8″ x 5/16″ white FLT Trim board sold at Home Depot
1.5 hours of time
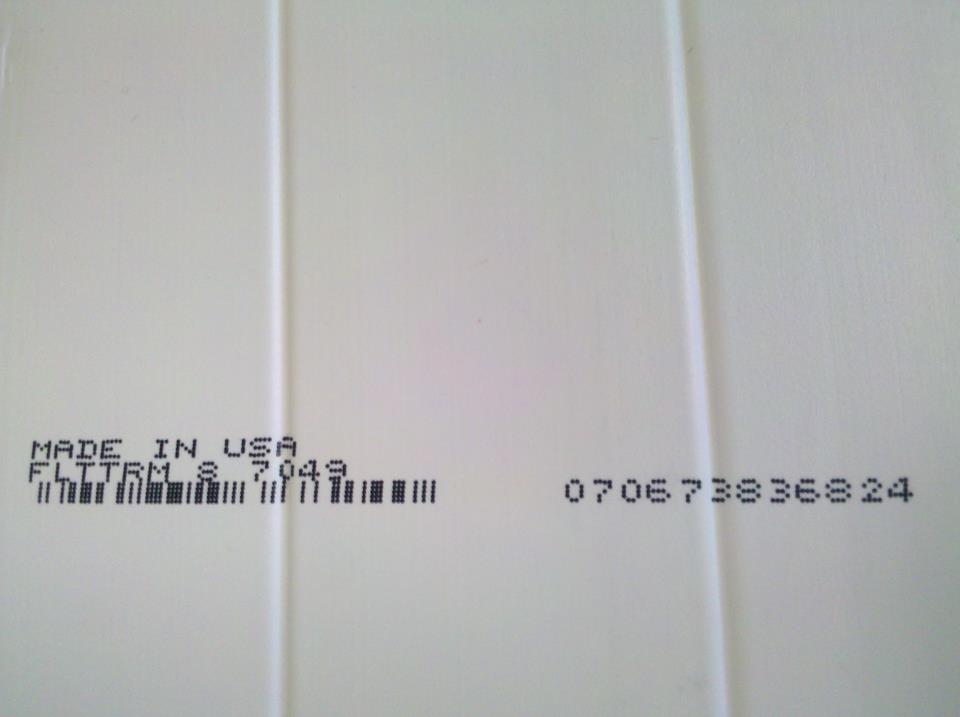
This is the FLT Trim serial number to look for at Home Depot that will serve as the body of the measuring board.
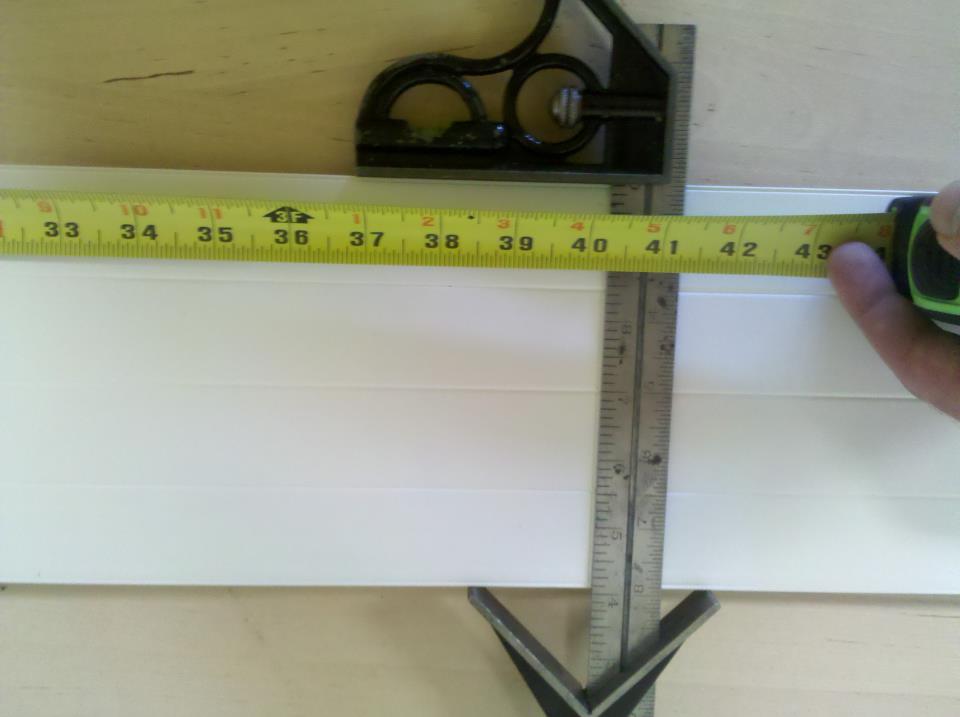 Measure first cut at 40 1/4″. Feel free to make it as long as you like, but I chose this dimension because of the storage length available behind seat, avoiding interference with rudder deployment / rotation.
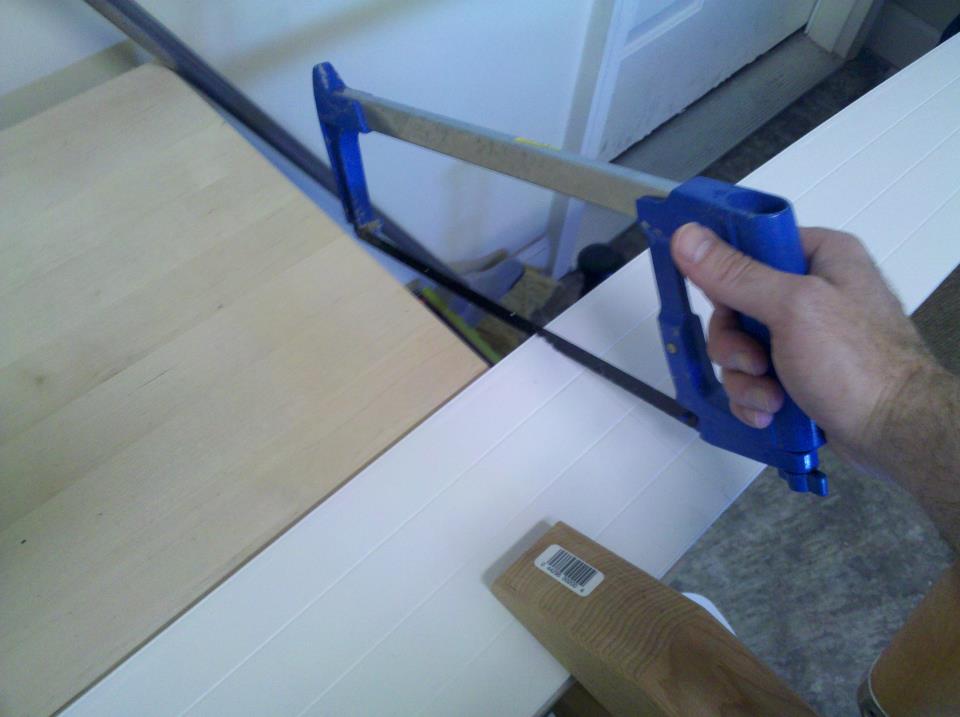
Clamp and cut. Cut second piece same length.
 After every cut, sand edges. Thinking ahead to next step, you want to assemble smoothest surface inside where fish will be measured.
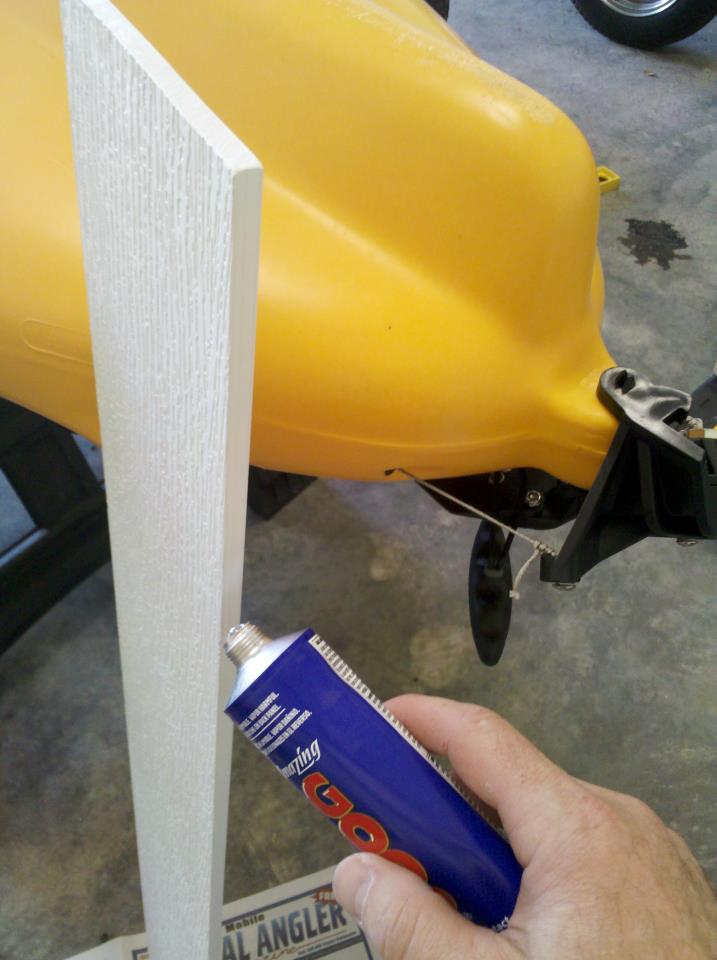 Apply waterproof Goop to edge of interface.
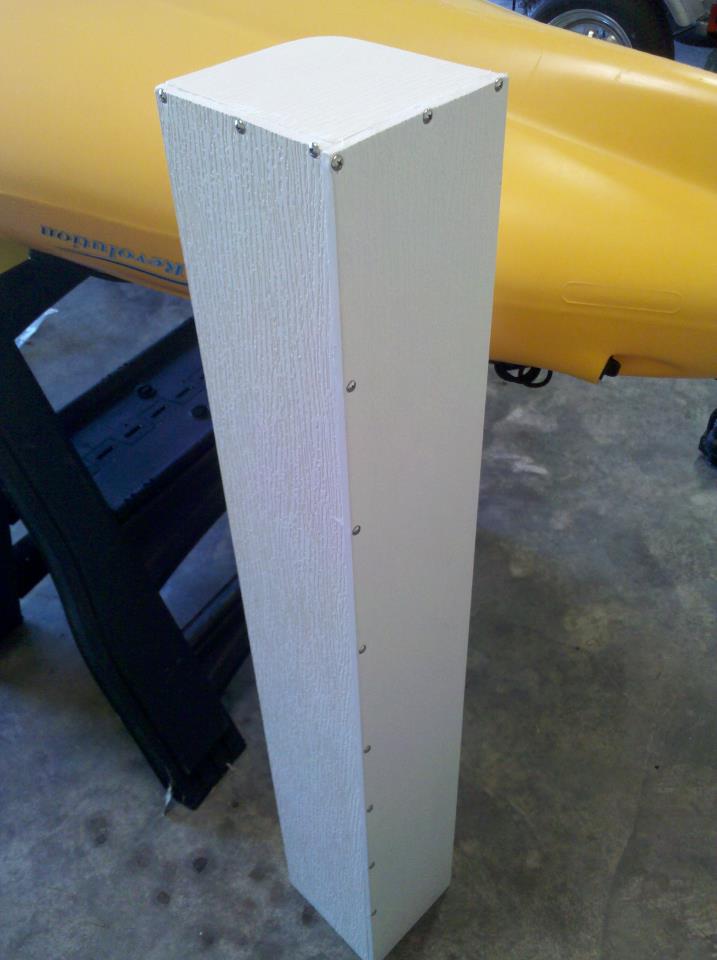
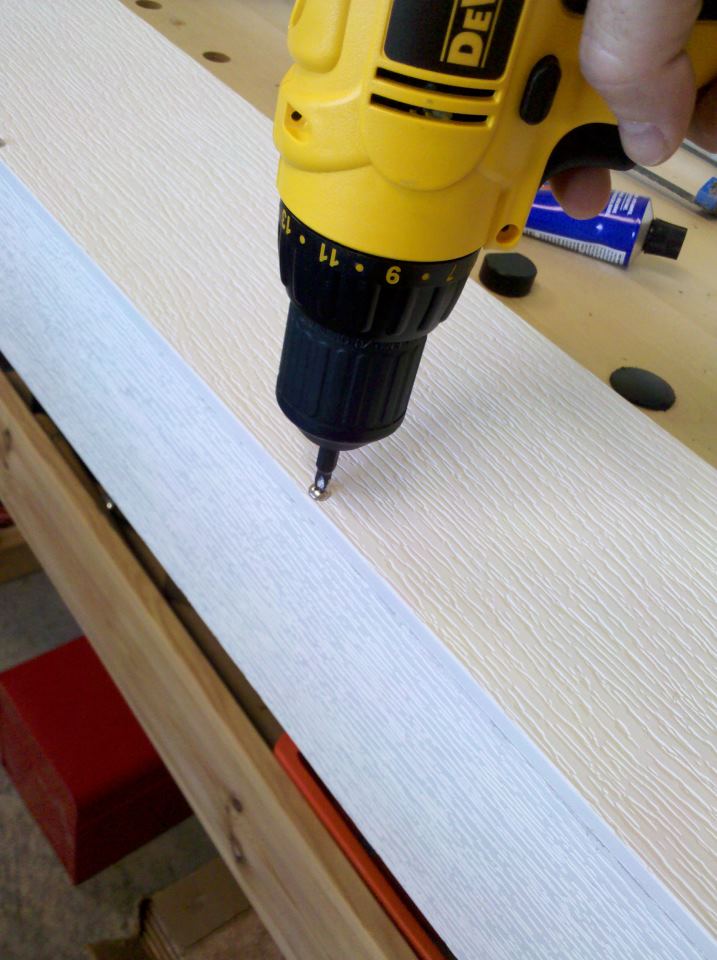 Secure ten screws along interface.
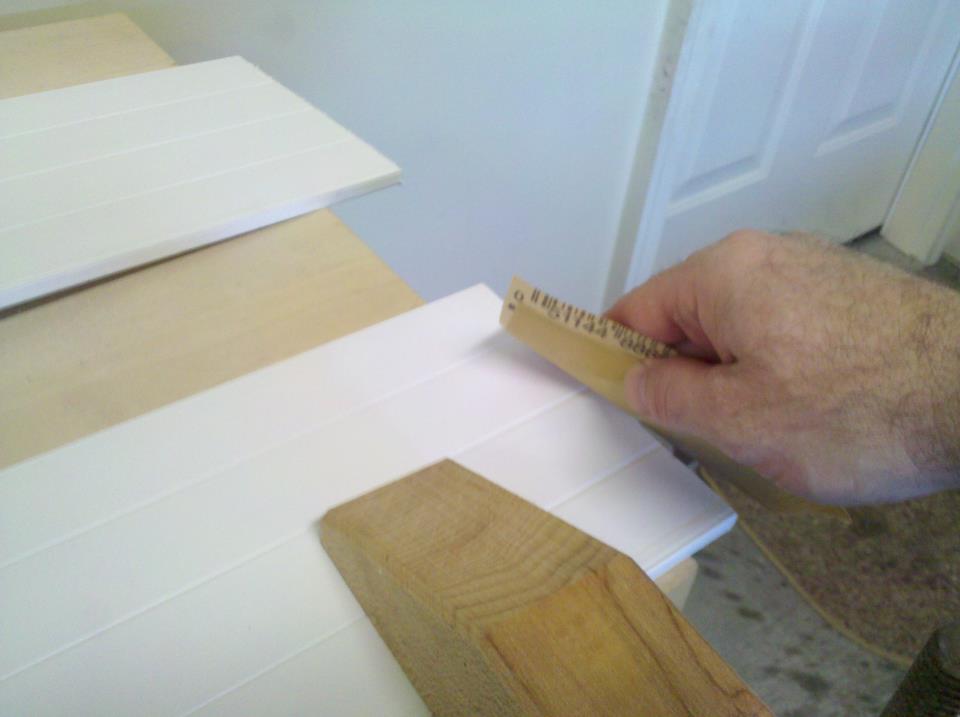
 Size nose plate.
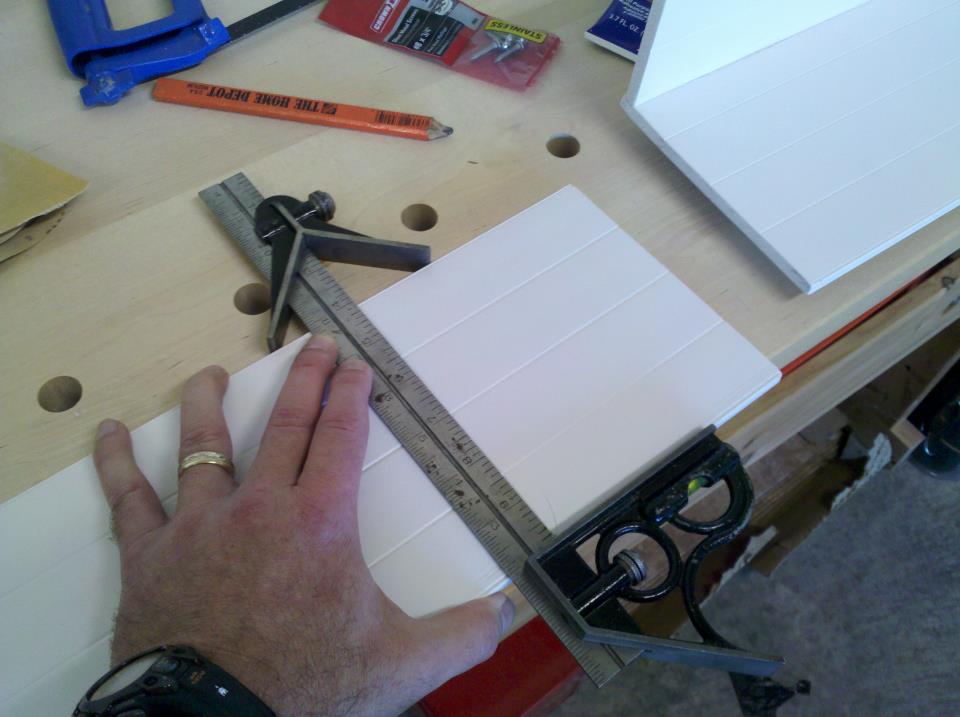 Scribe line for cut of nose plate. This is the time to also make sure and strip cut your vertical wall for appropriate thickness of the largest fish that you normally target.
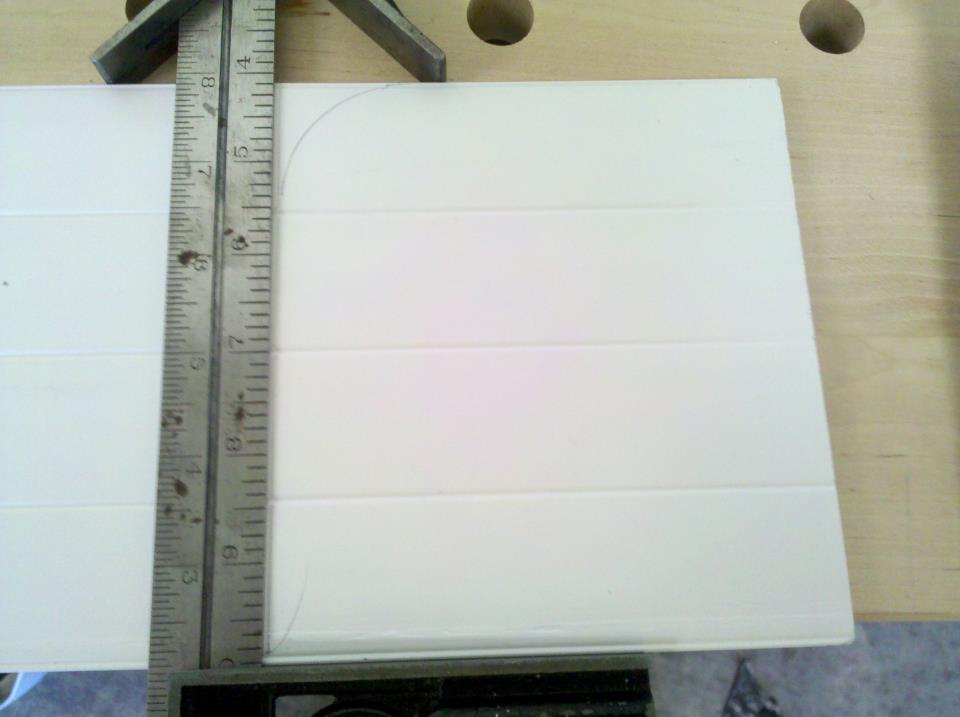 Add radii for exposed corner of nose plate.
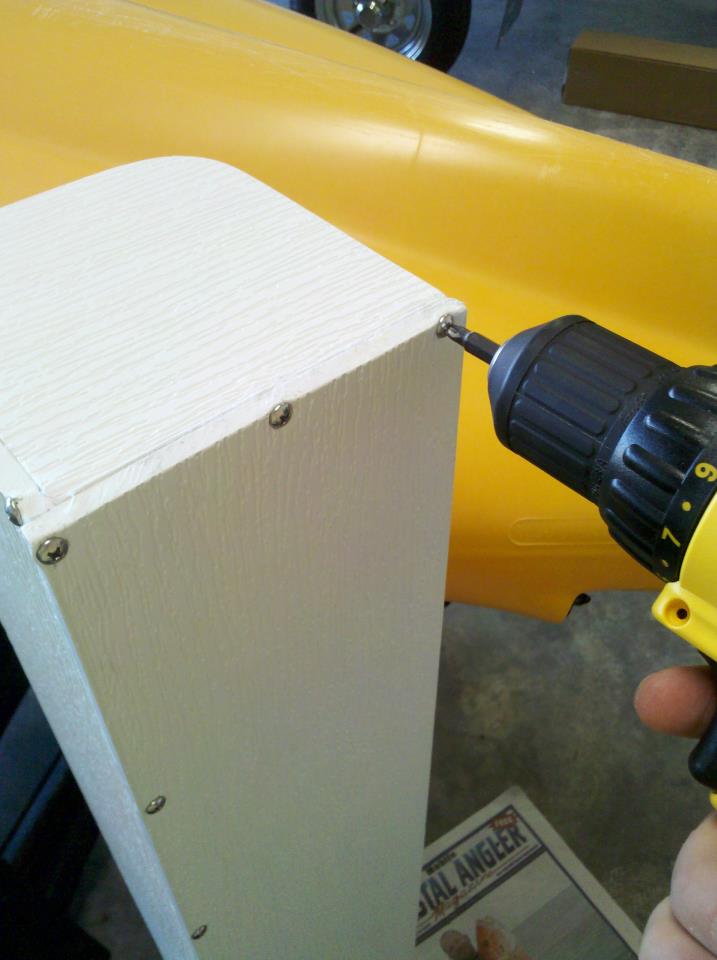
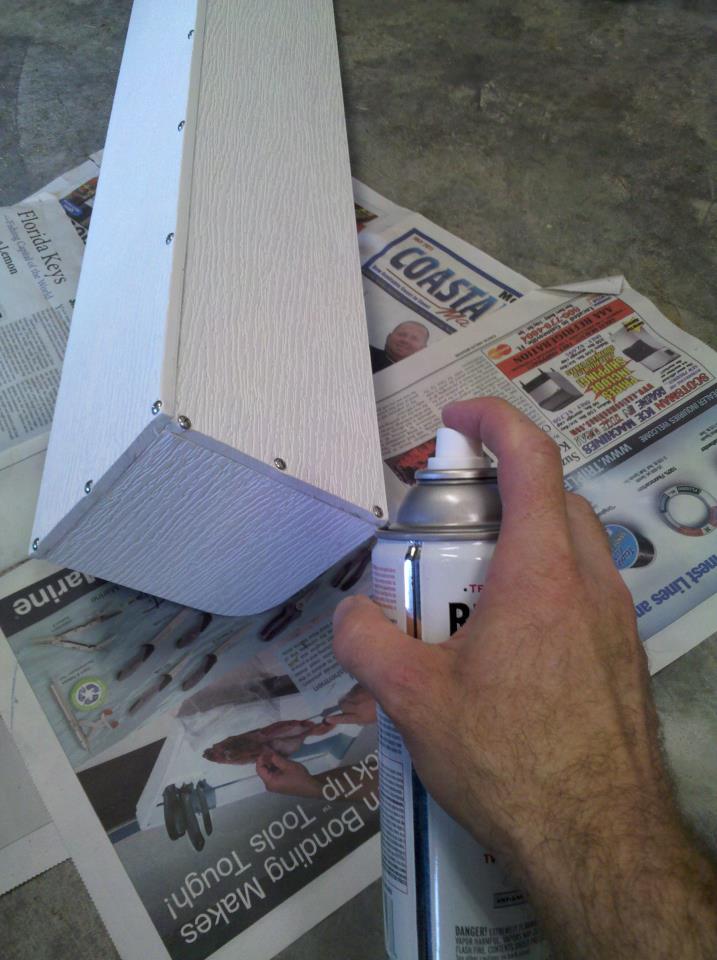 Spray screw heads with white primer for added protection from salt. Assembly of device complete! See next step for info on measuring tape.
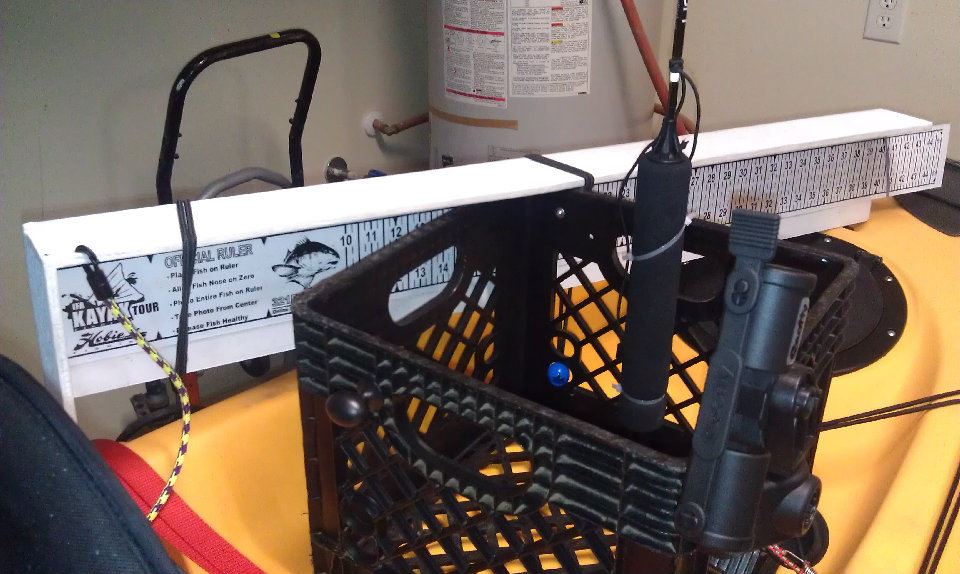
 Add a measurement tape to device along bottom plate, using inside vertical surface of nose plate as datum. Measuring tape secured with clear packing tape. A widely recognized tape can be found at http://www.321fish.com/pages/store
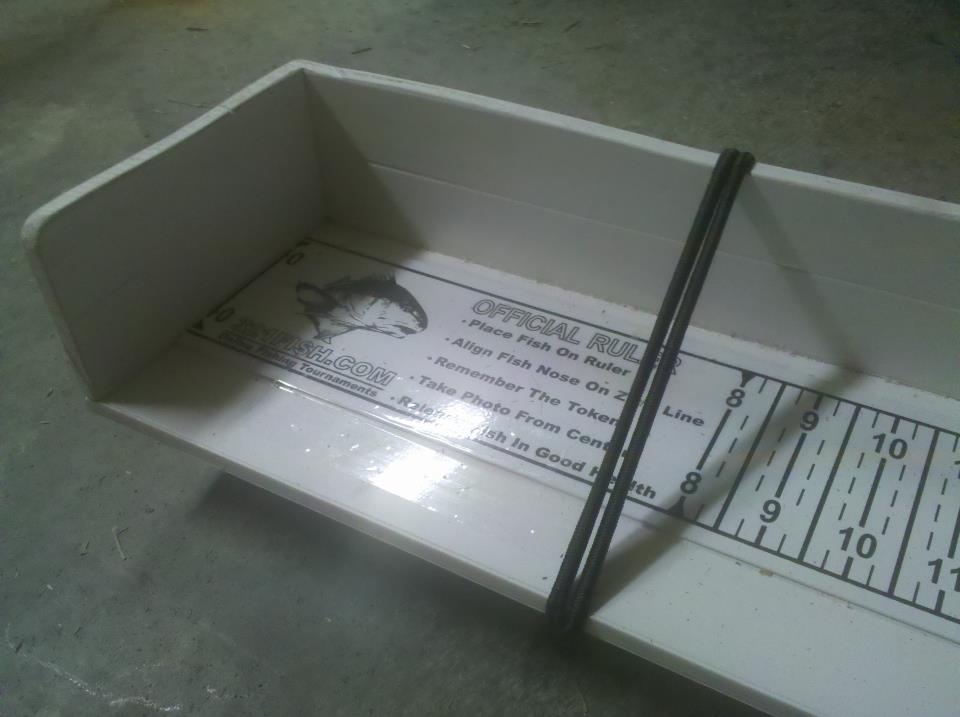 Rubber bands wrapped around end of measuring tape is useful to pinch tail while taking photo for optimum length. Slide off rubber band from measuring tape, then slide onto tail of fish to pinch.
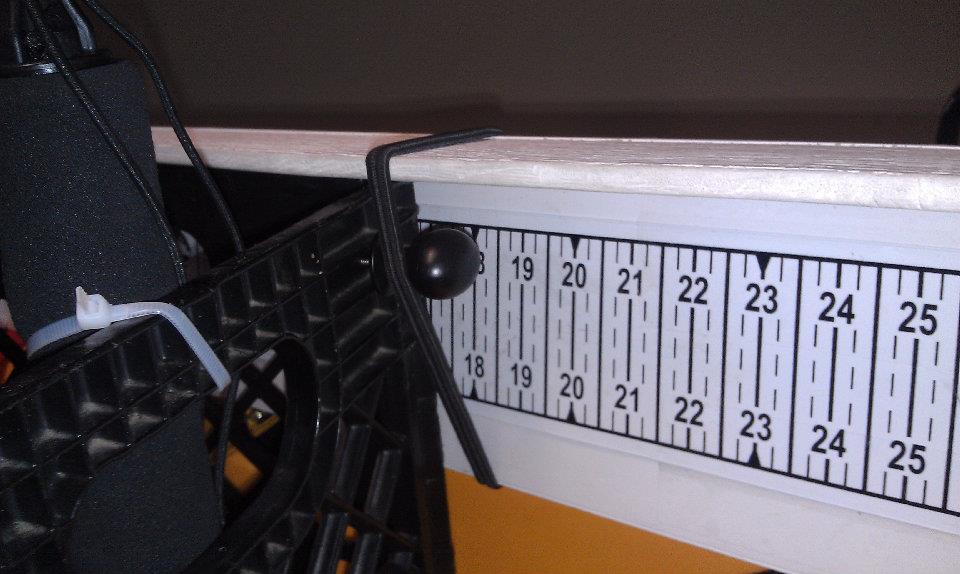
When you’re at the hardware, also purchase drawer knobs for securing measuring board to crate. I chose a ball type knob so to make it easy to slide board on and off from crate, while at same time providing a secure hanging method. I’ve used this for a year and a half and the board has never fallen off. When you arrive home, screw the drawer knob to the milk crate and assemble nut.
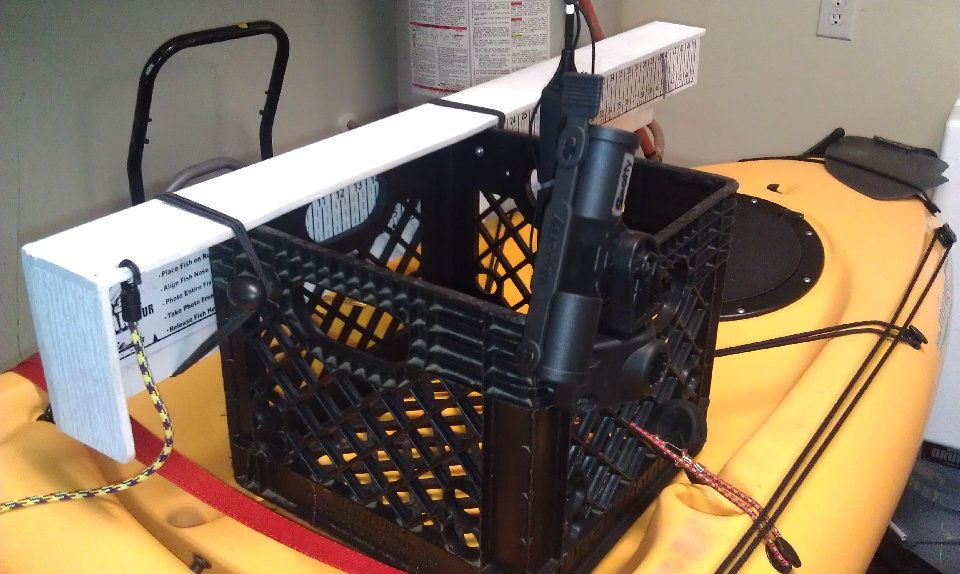
 This is a view of the finished product, hanging on the crate. The 12″ bungee shown at front and rear are dual purpose. They hold board onto crate, but also help to keep fish in board while measuring. So often, fish flop out of the board and into the water from kayak. This helps to keep them in, but avoiding squeezing the fish. Be careful to position front bungee so that it doesn’t slide into gill of fish.
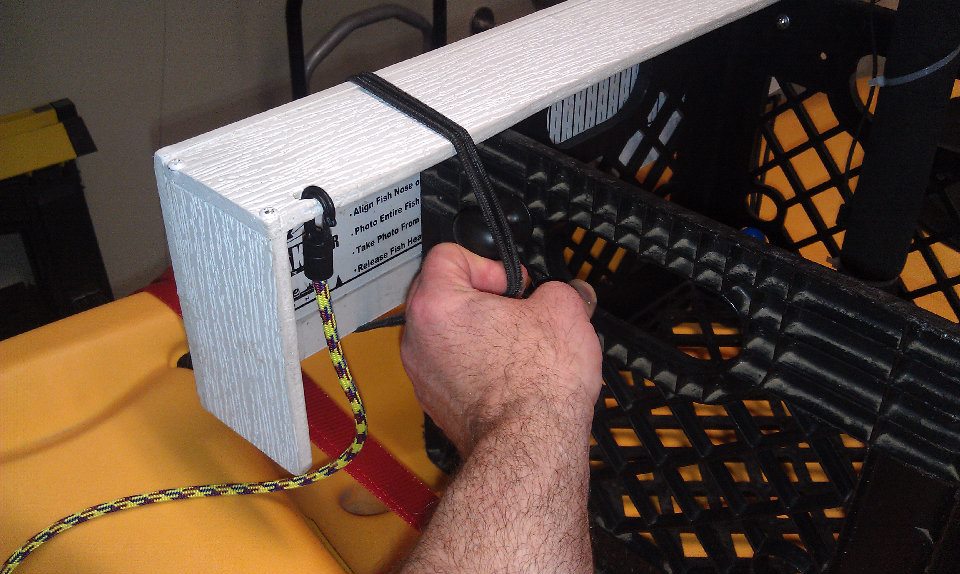
 To assemble to crate from seating position on kayak, hook rear bungee to rear knob.
 Then swing front into ball and wrap over. It works easily while seated in kayak.
 View from rear of board.
Now that you’ve got a great measuring board, get out there and catch some fish!
Copyright 2014 by icastinayak.com. All rights reserved